Installing Luxury Vinyl Planks – DIY Tips and Tricks
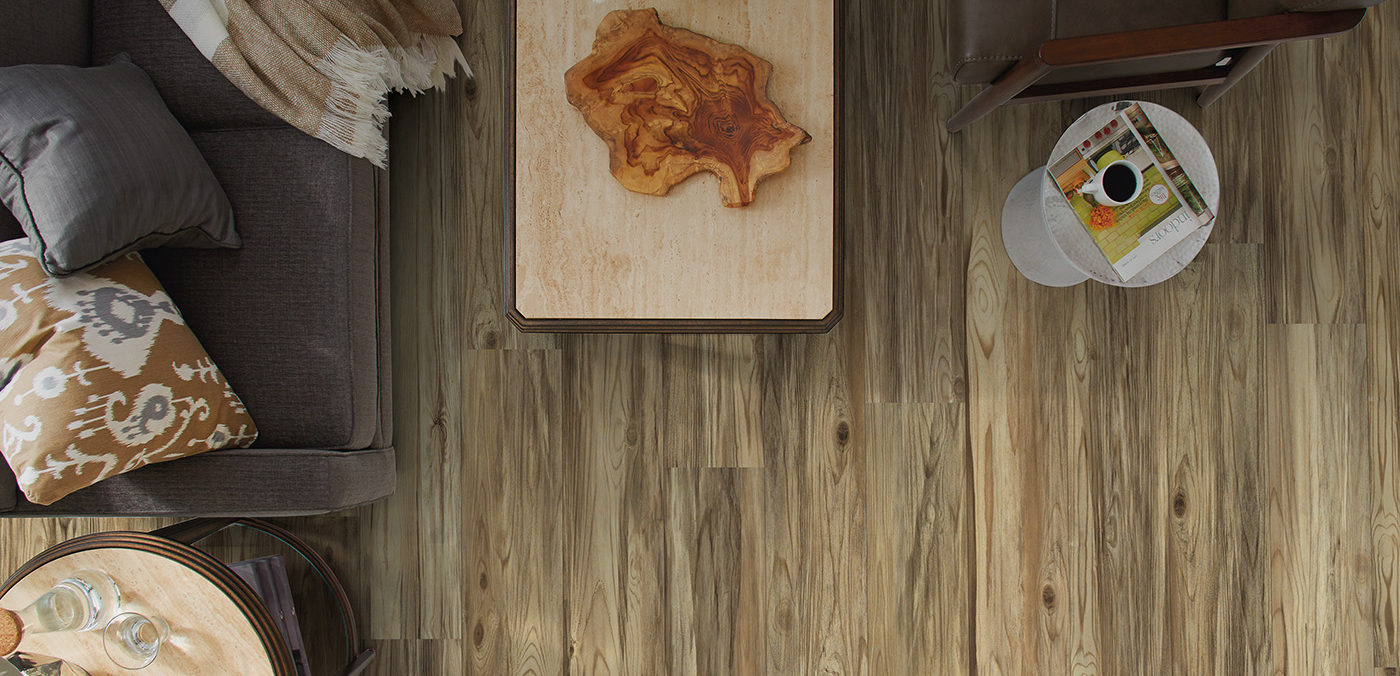
Luxury vinyl floors are the talk of the decade! This material is the perfect meeting spot between the aesthetical value of hardwood and high durability and efficiency of vinyl. Luxury plank flooring is far more durable than hardwood since it is both water and scratch resistant.
With such superior characteristics, one should at least consider this material for their next remodel. So just in case you fall in love with luxury vinyl planks, here is you need to know about the installation process:
THE BENEFITS OF LUXURY VINYL
Since everybody loves the visual appeal of hardwood, but nobody likes its low moisture and scratch resistance, luxury vinyl is almost the ideal material for floors. This material is completely man-made so the design options are much broader than for natural materials, making it much easier for you to find your desired look.
Apart from aesthetics, luxury vinyl planks are also popular amongst buyers because of their easy installation. Oddly enough, this material doesn’t need any expensive tools and excessive work to be installed. These planks are more like a jigsaw puzzle than a regular flooring material.
DIY INSTALLATION
One of the things that can get annoying during a flooring installation is the underlayment. However, luxury vinyl planks have solved this problem as well. They simply cannot get more appealing than this! These planks have the underlayment installed within them, providing an easier and cheaper installation process.
Installing such a floor is great for homeowners who like a bit of DIY. The design of this flooring material furtherly eases up the installation process because of the click-lock mechanism, creating a strong bond between two planks, without any confusing and expensive tools involved in the process.

THE TOOLS YOU WILL NEED
When we already mentioned tools a couple of time, let’s go through some of the basic ones you will need to do a DIY luxury vinyl plank installation.
-
Sharp Utility knife, preferably with additional blades
-
Rubber mallet
-
Knee pads
-
Table saw (completely optional)
-
Metal straight edge
-
Pliers
That’s it! There is no nailing gun or any other dangerous tool involved. Installing luxury vinyl flooring is definitely for creative souls who just can’t wait to solve their next big puzzle. The installation process is quite calming and therapeutic, making it a big reason why DIY installation is highly recommended for this flooring material.
THE INSTALLATION STEPS
Of course, as in every installation, there are a couple of rules one should follow. To make the most of out of your DIY project, have in mind these next few steps for installing luxury vinyl planks:
-
PREPARE THE SUBFLOOR:
Luxury vinyl floors can be installed literally over every type of subfloor, including vinyl, wood, and concrete. However, before you start the installation, you must make sure that the subfloor is perfect. Try walking on it and if you notice any squeaks, simply screw the joists which are located in that area. Additionally, you must inspect the subfloor for any damage like rot and mold. If your subfloor is damaged, then definitely schedule a fixup before installing these practical luxury planks.
-
CHOOSE A STARTING POINT:
Careful planning is the key for every flooring installation. That’s why you should decide beforehand whether you want the planks to be directed from back to front or sideways. You can consult with interior designers to check how the direction of the planks influences the room. For example, back-front direction can make the space feel deeper.
-
MATCH THE PLANKS:
Once you order the planks, they will come in a couple of boxes. To make sure that you achieve color consistency across the entire floor, you can mix the planks and match them before you start clicking them together. This way the results will be much more appealing.
-
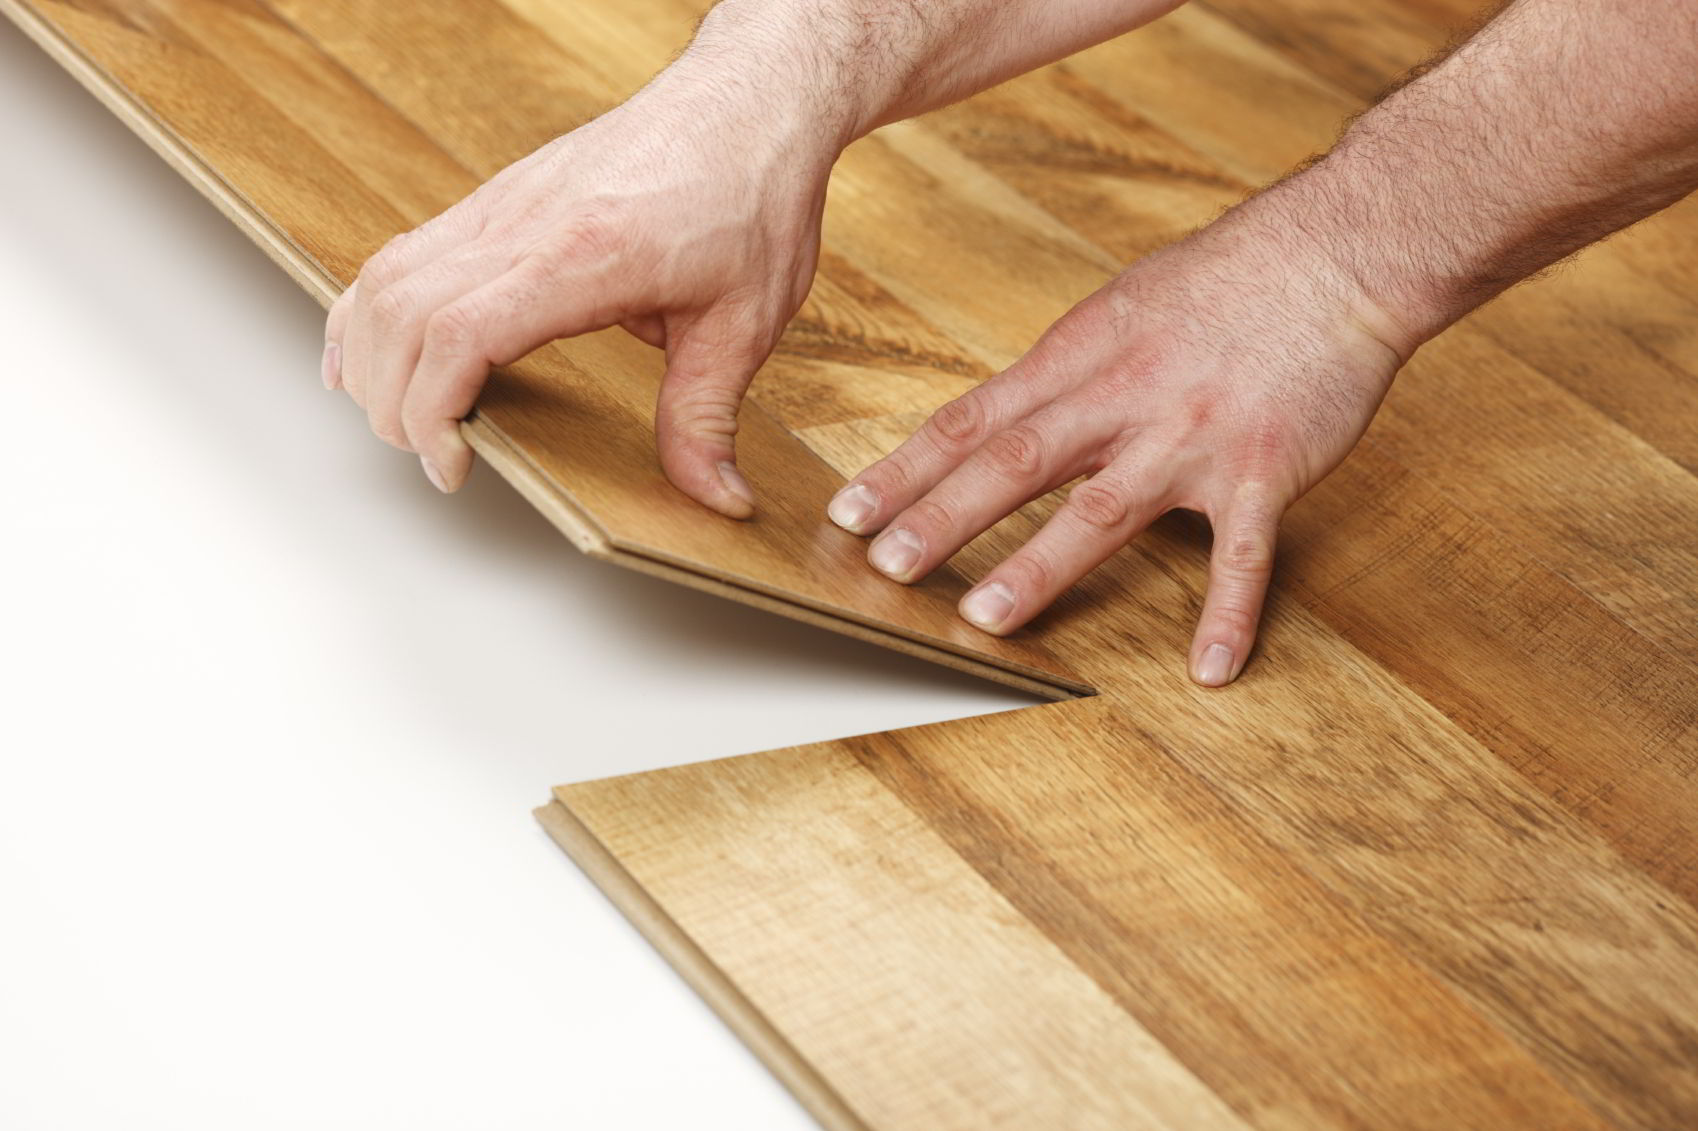
START THE PUZZLE:
At last, the fun begins! When you determine your starting point, start clicking together some planks and use a rubber mallet to secure joints. When you finish a row, use the metal straight edge and the utility knife (or the table saw) to resize the plank so that it fits the walls. That’s it!
-
CUT IN THE CORNERS:
When you bump into a corner or an angle, use the utility knife or saw once again to resize the plank. Just cut around the corner and use the pliers to grab the cut-off piece more easily.
-
THE FINISHING TOUCHES:
Ok, so you laid down your luxury vinyl planks across the entire floor. Now, it’s time to fill the gaps between the floor and the wall. You can use a wide baseboard to close it down and paint over the nails you used to achieve a fresh look.
SHOP LUXURY VINYL FLOORING NOW


-
Tagged kitchen flooring, kitchen floors, laminate floors, luxury vinyl floors, waterproof flooring